Slow Progress
To those on the outside, it might seem like we’re not moving forward with the mural we got approval for. If I didn’t care, we could have slapped this up there ages ago, but I do care.
I want to make this mural perfect, we’re putting in extra effort to ensure we have the perfect canvas for Esmond Lyons to do his magic and have it last for many years to come! It’s an old building, there’s a lot that needed to be done…more than even I realised. It took about 2 months longer than originally anticipated (slow, tedious work), but we finally got the area where the mural is going on 153 Maple Street repointed, which brings us one step closer to painting!
Below is a summary of the work we have done to prepare the wall.
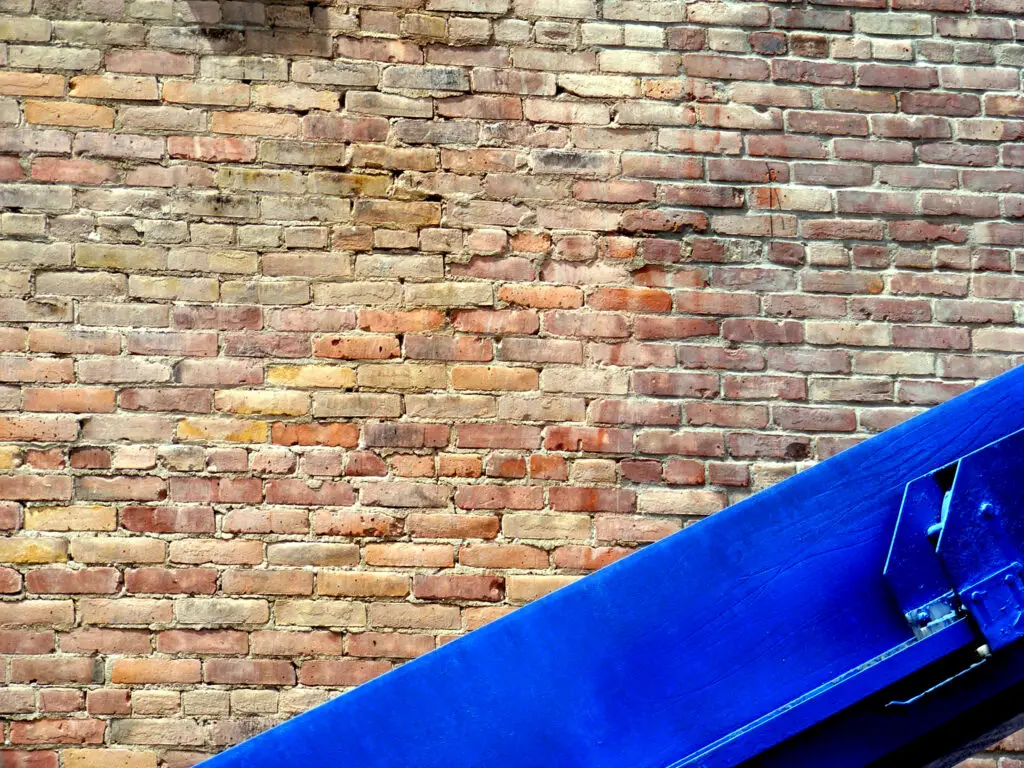
Pre Prep 1
The section that has been repointed is on the right, the section that is unrepaired is on the left.
For those not familiar with repointing, this refers to the process of repairing the grout or joints between bricks. Over time the grout can become cracked or crumbly. Replacing the old, degraded mortar with fresh mortar, helps preserve the surrounding bricks from environmental and stress damage.
Pre Prep 2
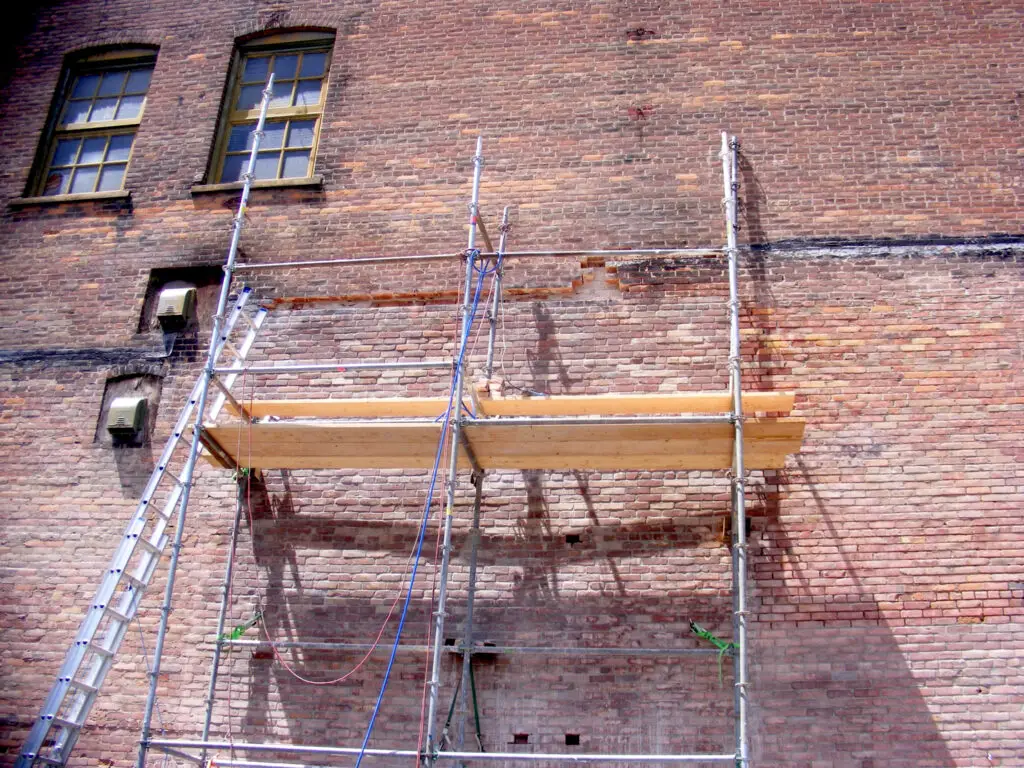
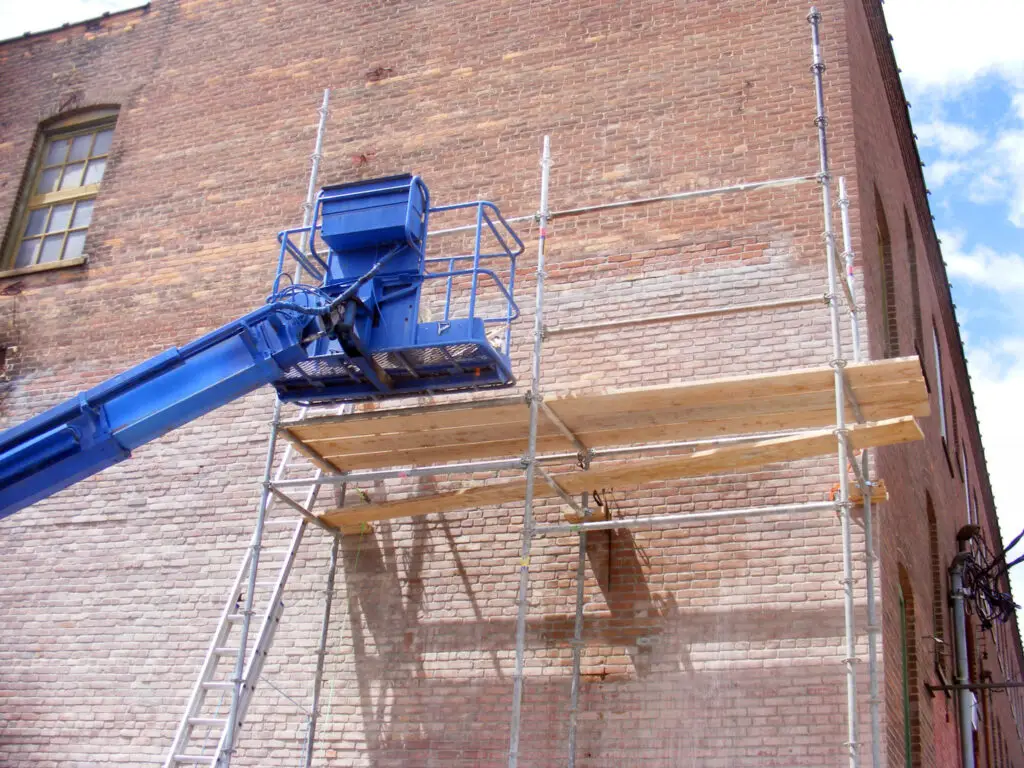
Last section of pointing to be done a week ago with 3 rows removed to eliminate tar line.
Repointing Before Painting
Repointed bricks look beautiful, but that’s not the only reason for taking such care. A good repointing job is meant to last, often in the range of 50-100 years. We don’t want poor quality bricks to shorten the life span of this mural!
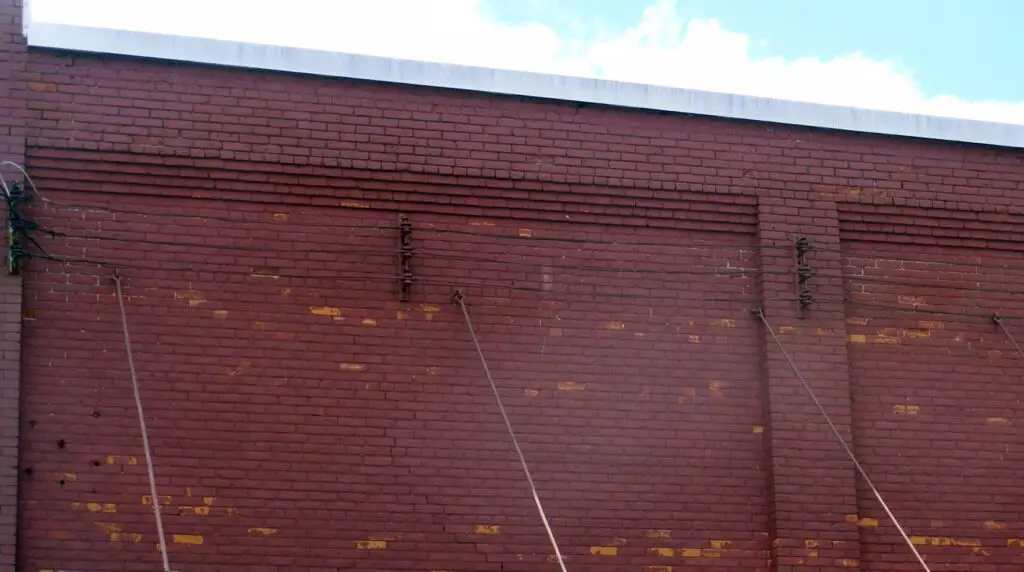
Here is a picture of a well maintained building in the area that has been painted. Note that the paint is failing on isolated, individual bricks. This is a sign that those particular bricks lack a fire skin, no amount of paint can fix that!
If you are interested on reading more about brick work in historic restorations, this is nice short article: Historic Bricks: Restore or Replace?
Underfired bricks that lack a fire skin are so soft you can literally cut into it with little to no effort. I am guessing there was a bit of a judgement as to grading bricks 100 years ago, and some brick that were supposed to be 1st quality, didn’t quite live up to the grade. After all the work just getting ready to paint, we don’t want soft bricks ruining the final product! We still have some under fired brick that we will replace before painting the wall a uniform background brick red. That extra time in the kiln to form a fire skin makes all the difference! Without it you’re essentially painting dried clay, if you’ve left a terra cotta pot outside over the winter, you probably have a good idea of what happens when dried clay is left exposed to the elements!
The Importance of Good Prep Work
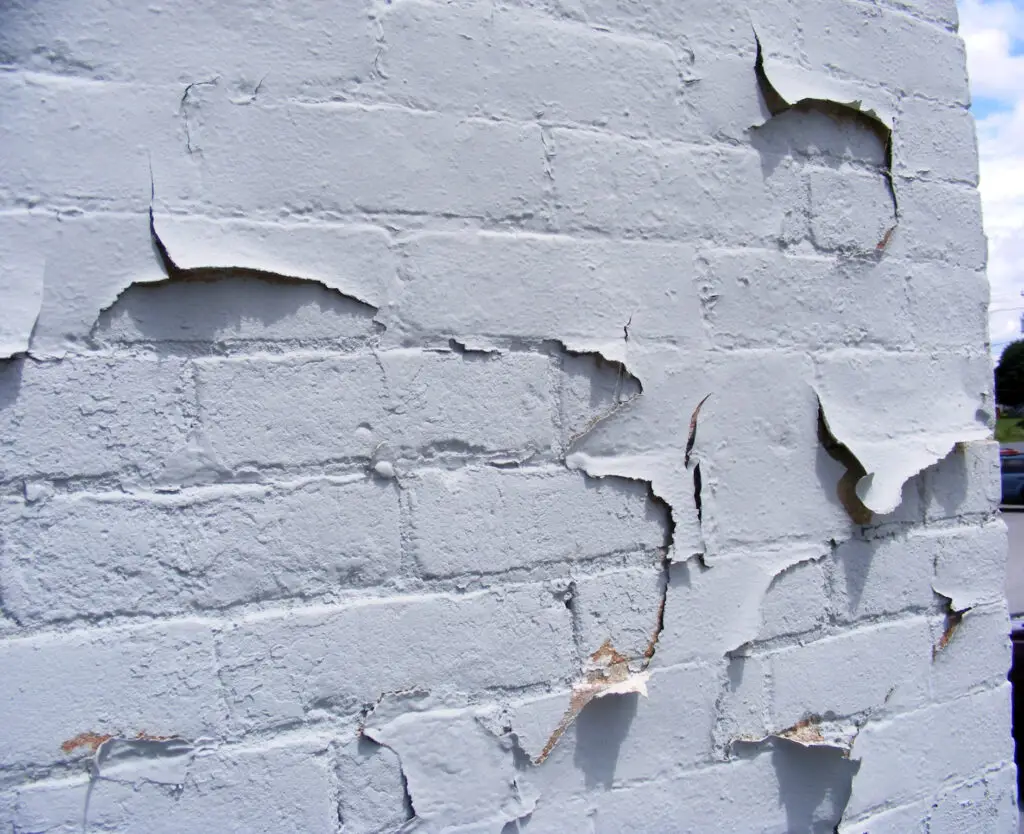
Proper preparation is everything on a paint job, no matter what surface you’re using. In the picture to the left, the paint failed either because the surface was not clean enough for the paint to stick to or the wrong type of paint was used. On brickwork you need a paint that “breathes”, otherwise moisture in the masonry will cause a bond failure in the paint. To prevent damage in freezing temperatures (which we definitely have here) masonry paint needs to allow the free transfer of moisture. If it doesn’t breath, that moisture may become trapped in a brick and will eventually damage the paint.
We’re all too well aware of the dangers of painting on a dirty or unstable surface. Now the repointing is done, we will be pulling the scaffolding down, filling the holes from the anchor points and pressure washing this wall to remove any residue or loose materials. After that Edmund will be taking over!
Edmund’s creating a masterpiece, to achieve full effect, he needs the best possible canvas, even if it has taken us months longer than anticipated!

